If you’re looking for a piece of fitness equipment that can deliver a full-body workout, get your heart rate up and add a bit of variety to your usual HIIT workouts, battle ropes are well worth a try.
I actually bought my battle rope before I even lived somewhere with a garden. For ages, it lived in the boot of my car and I’d take it to a local park, loop it around a suitable structure to create an anchor point, and get my workout done outside. Battle ropes are surprisingly portable, and you don’t necessarily need a gym or permanent setup to use them.
Battle rope training can look pretty intense, but it doesn’t have to be complicated. A few basic battle rope exercises can be combined with short bursts of intense activity and recovery periods to create a simple high-intensity interval training (HIIT) session. You can also mix rope exercises with bodyweight movements or free weights to create a more varied workout.
In this guide, I’m sharing five of the battle rope exercises I use, progressing from simple vertical waves through to more powerful movements like power slams. I’ve also put together three HIIT battle rope workouts of different lengths, so you can choose one that works with your time, fitness level and current fitness routine.
What Is a HIIT Battle Rope Workout?
A HIIT battle rope workout combines battle rope exercises with the work and recovery periods used in high-intensity interval training. You’ll perform short bursts of higher-intensity activity, followed by a period of rest or lower-intensity movement before repeating.
Battle ropes work particularly well for HIIT because it’s easy to change the intensity. You can increase the speed of your waves, generate more force, choose a more demanding movement or simply work for longer. Likewise, you can increase your recovery time when you need it.
And although battle rope waves might look like they’re all about the arms, your whole body gets involved. Maintaining a strong stance requires your lower body and core to work while your upper body creates and controls the movement of the ropes. Different exercises can also take you through different planes of motion rather than keeping everything moving forwards and backwards.
The result is a workout that can challenge your cardiovascular fitness and muscular endurance in a relatively short amount of time — and one that’s very easy to adapt to different fitness levels.
Benefits of Battle Rope Workouts
There’s a reason battle ropes have become a popular tool for conditioning workouts. Depending on the exercises, intensity and workout structure you choose, they can challenge several aspects of fitness at once.
They get your whole body working. Although you’ll definitely feel battle rope exercises in your arms and shoulders, they’re not just an upper-body workout. Holding a strong squat or quarter squat position recruits your lower body, while your core muscles work to keep your torso stable as you create and control the waves. Movements such as lateral waves also introduce different planes of motion, giving you more variety than simply moving forwards and backwards.
They challenge your cardiovascular fitness. Repeatedly moving a heavy rope takes some effort! Using battle ropes for short periods of higher-intensity work can quickly raise your heart rate, making them an effective tool for developing cardiovascular fitness and endurance.
They can help develop power. Battle rope training isn’t only about moving the ropes as quickly as possible. Exercises such as power slams require you to generate force through your whole body, making them a useful way to incorporate more explosive, dynamic movement into your fitness routine.
They work your core in a slightly different way. Rather than performing endless crunches, your core musculature has to resist and control the forces created as you move the ropes. Alternating and lateral movements in particular require your core to help keep the rest of your body stable.
They’re easy to adapt. Your battle rope workout doesn’t have to look the same as somebody else’s. You can change the seconds of work, recovery time, speed, movement pattern or exercise depending on your fitness level and goals. Even the rope itself makes a difference, with longer, thicker and heavier ropes generally requiring more effort to move.
They make HIIT a bit more interesting. There are only so many burpees a person needs in their life. Battle ropes give you another way to add high-intensity intervals to your workout routine, whether you use them for the entire session, combine them with strength training or add a short finisher to the end of another workout.
How to Set Up and Use Battle Ropes
You don’t need a dedicated battle rope station to get started, but you do need a secure anchor point and enough space to move safely. As I mentioned earlier, my battle rope spent a long time living in the boot of my car. I’d take it to the park and use a suitable sturdy structure as my anchor, so your setup can be pretty simple.
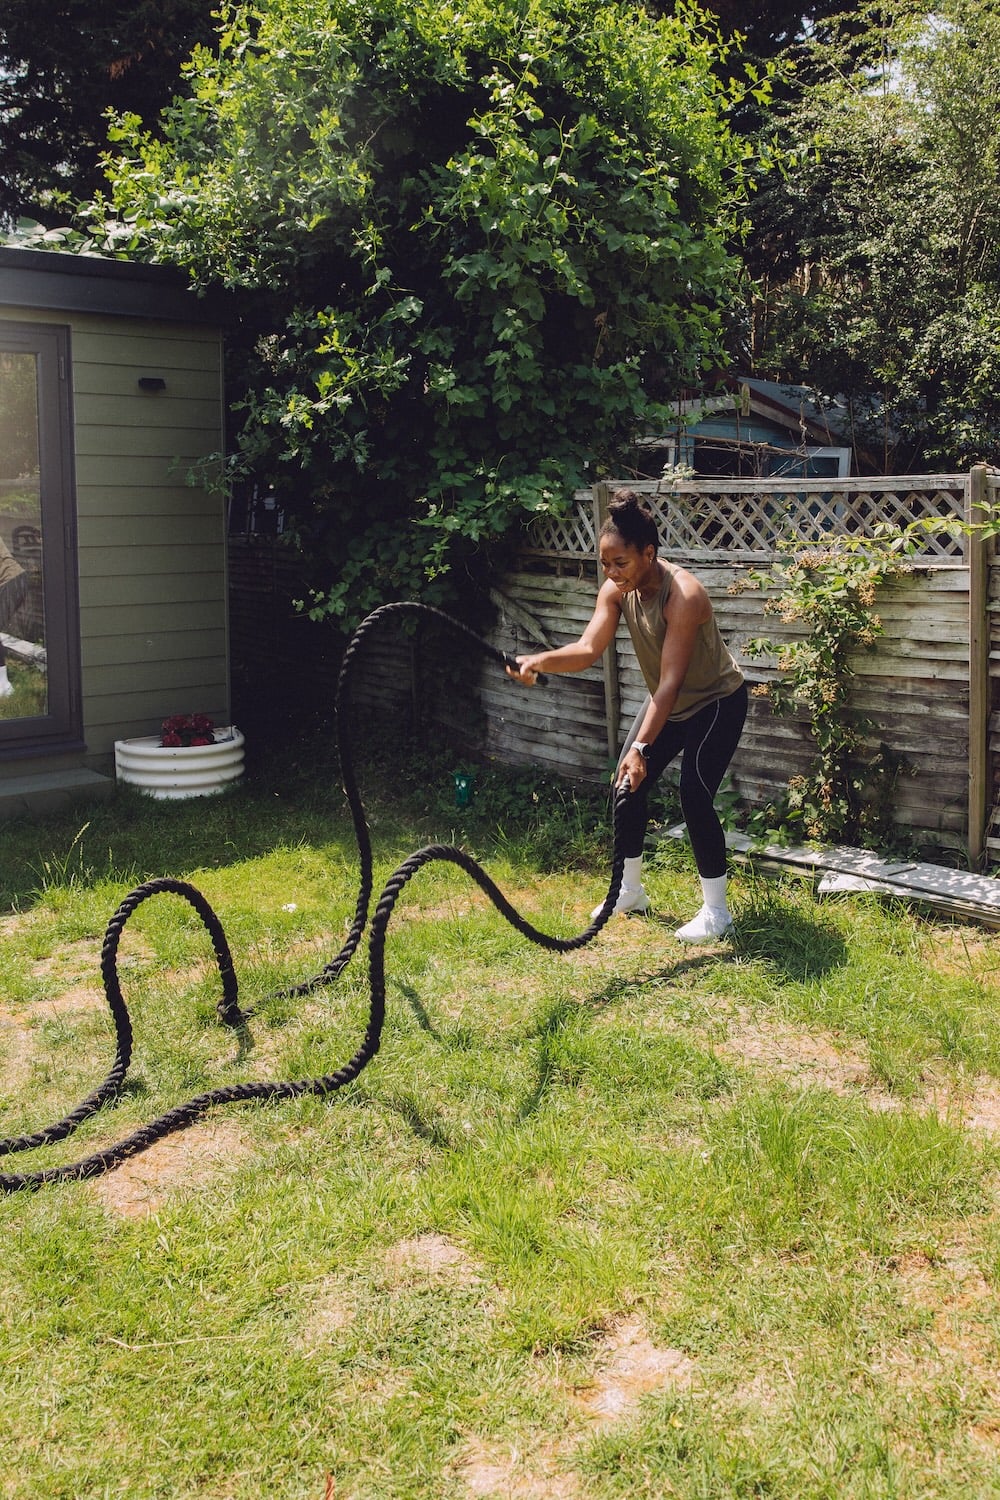
Loop the middle of the rope around your anchor point so you have an end of the rope in each hand. Step backwards until there’s enough tension to create consistent waves, but don’t pull the rope completely taut — you need some slack for the rope to move.
Your starting position will depend slightly on the exercise, but for most battle rope waves, start with your feet around hip- to shoulder-width apart, knees soft and your weight evenly distributed. You can drop into a quarter squat to bring your centre of gravity slightly lower and create a strong, stable base.
Hold the end of each rope firmly without squeezing the life out of it. Keeping a relaxed but secure hand grip will help you maintain the movement for longer without your forearms giving up before the rest of you does.
Does Battle Rope Size Matter?
Battle ropes come in various lengths, weights and diameters, and these can all affect how challenging they feel. Longer, thicker and heavier ropes generally require more effort to move, but bigger isn’t automatically better — especially if you’re new to battle rope training.
For reference, the battle rope I use is 12m long, weighs around 8.4kg and has chunky 34mm anti-slip grips. I’ve had it for years and it’s done me well for everything from basic battle rope waves to power slams.
Rather than worrying too much about finding the heaviest rope possible, choose one that allows you to maintain proper form and create consistent waves. You can make your workouts progressively harder by changing the exercises, increasing your speed or power output, extending your seconds of work or reducing your recovery time as your fitness improves.
What Shoes Should You Wear for a Battle Rope Workout?
For HIIT workouts like this, I prefer training shoes with good grip and a stable base, particularly when I’m doing more powerful movements like slams. I’m wearing the adidas Dropset 4 Training Shoes in these photos, which are designed for strength and functional training. If you’re looking for new gym trainers, it’s also worth keeping an eye on the adidas Black Friday deals to see what’s available.
5 Battle Rope Exercises to Try
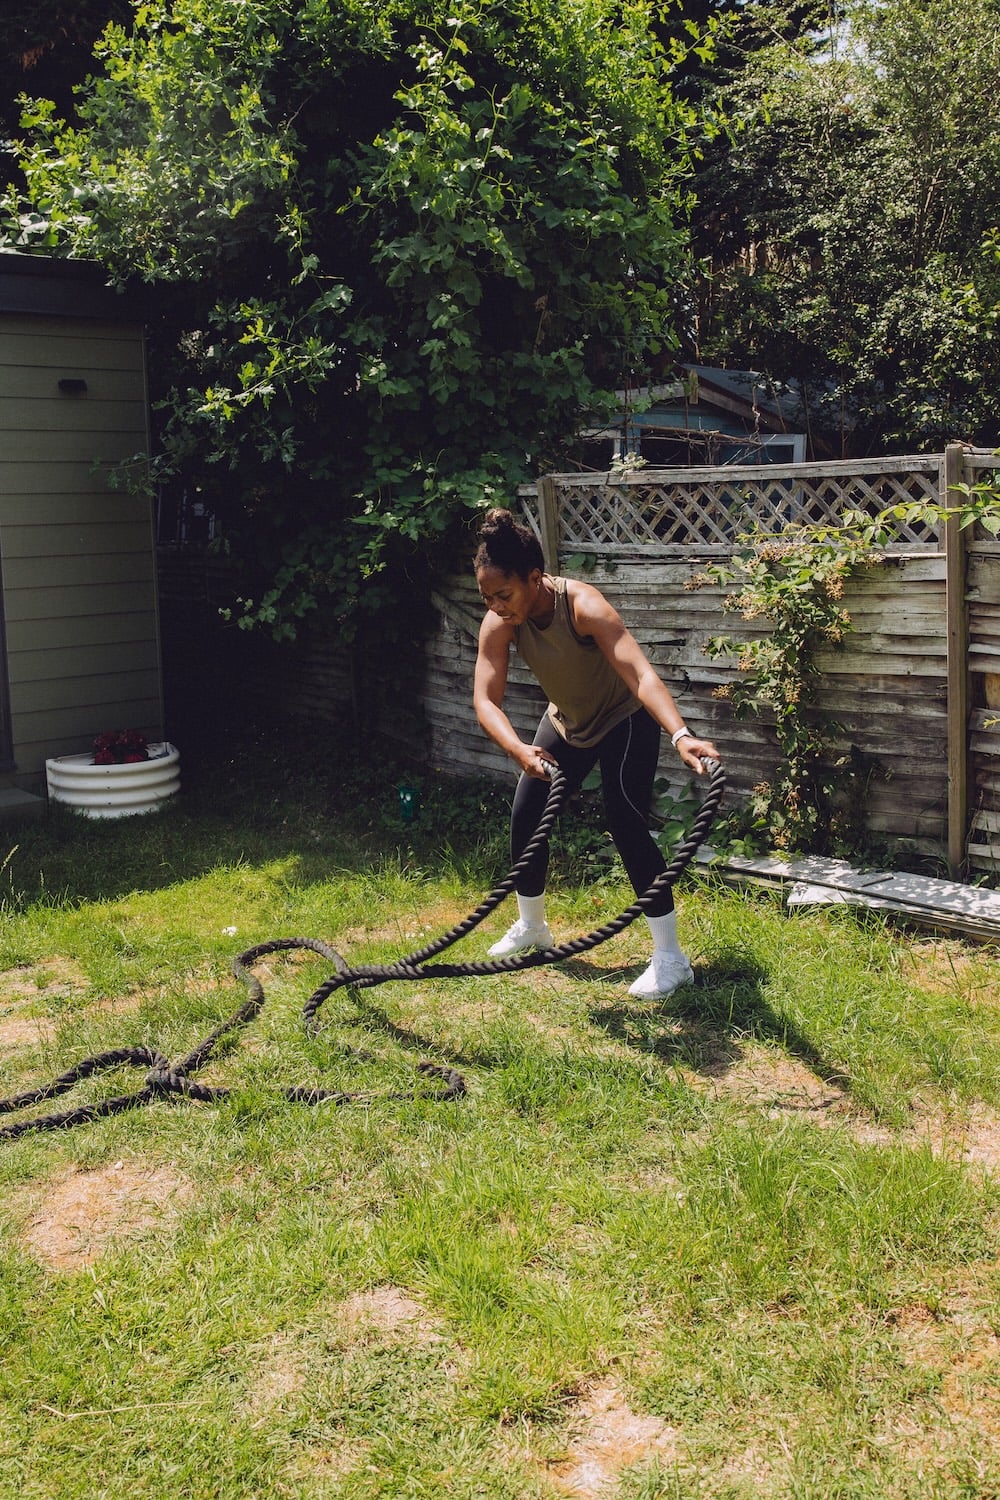
These are five of the battle rope exercises I regularly use in my workouts. I’ve listed them roughly in the order I’d progress them, starting with a simple single-rope vertical wave before moving onto exercises that require more coordination, power or movement in a different direction.
If you’re new to battle rope training, spend some time getting comfortable with the movement pattern before worrying about how fast you can go. Good, consistent waves with proper form beat wildly throwing the ropes around for 30 seconds!
1. Vertical Waves – Single Rope
This is a great place to start because you only have one rope to think about at a time.
Stand facing your anchor point with your feet around shoulder-width apart and hold the end of one rope in one hand. Keep your knees soft and drop into a slight quarter squat. Move your arm up and down to create vertical waves that travel along the rope towards the anchor point.
Aim to create a smooth, continuous wave movement rather than simply moving your hand as quickly as possible. Practise with your right hand and left hand separately.
Make it harder: Increase the speed of the waves, create larger waves or extend your work interval.
2. Alternating Waves
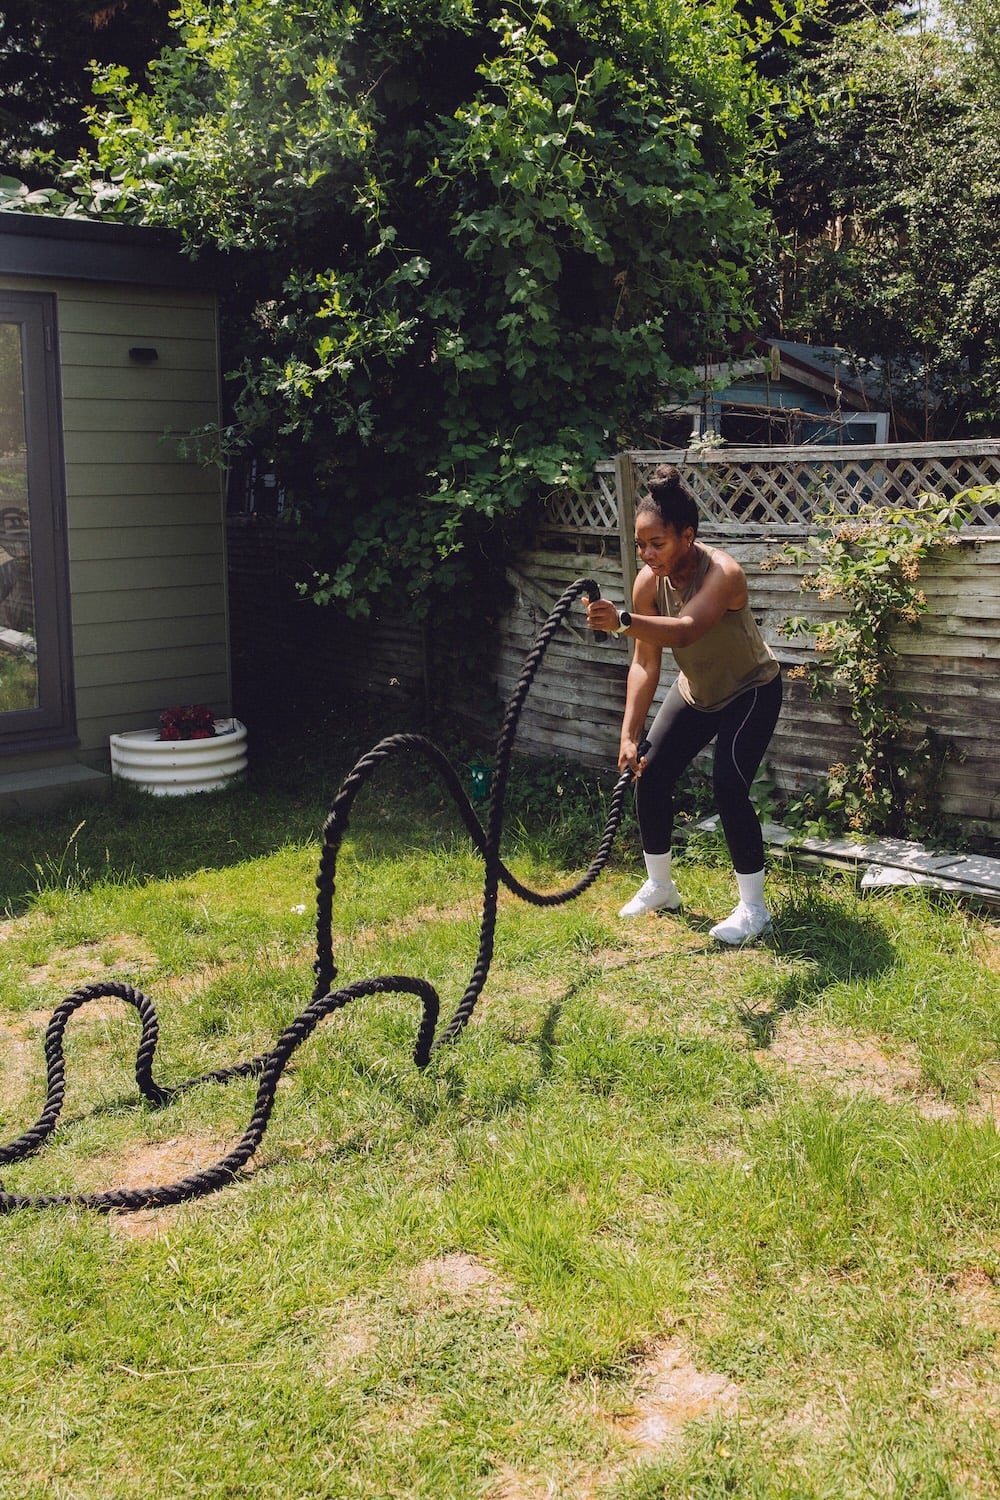
Once you’re comfortable creating a wave with each arm individually, alternating waves are the natural next step.
Hold an end of the rope in each hand with your feet around shoulder-width apart and settle into a slight squat position. Move one arm up as the other moves down, alternating continuously to send a series of waves towards the anchor point.
Try to keep the movement controlled and rhythmic. Your arms are working independently, but your core muscles and lower body should help you maintain a stable position rather than your whole body bouncing around with every wave.
Make it harder: Increase your speed while maintaining the same consistent wave pattern.
3. Double Waves
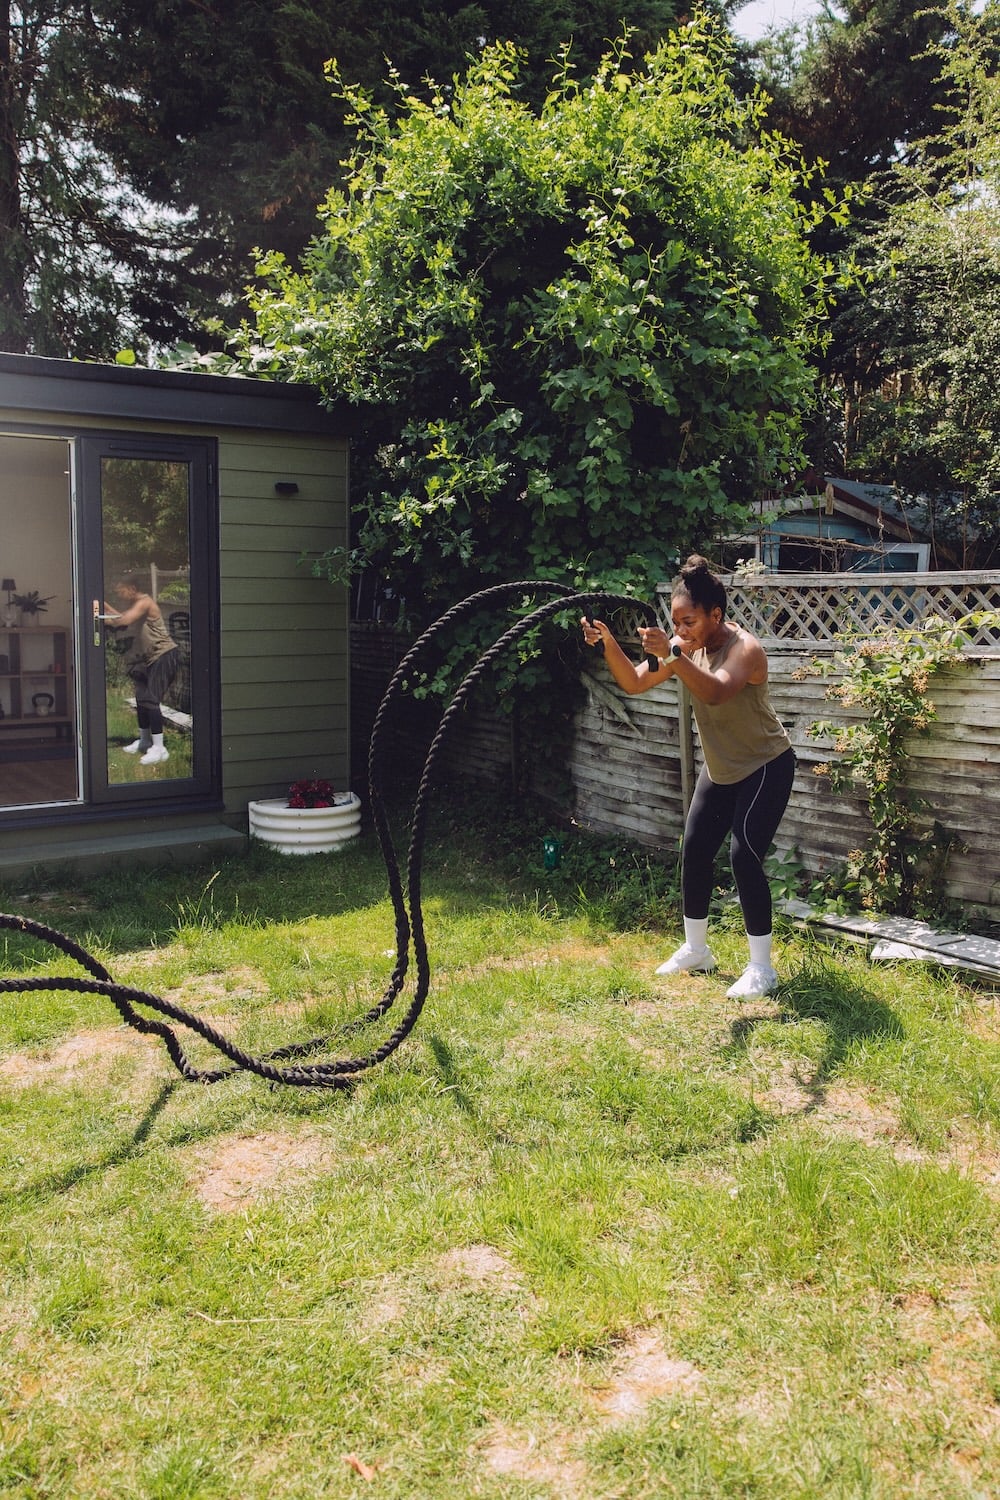
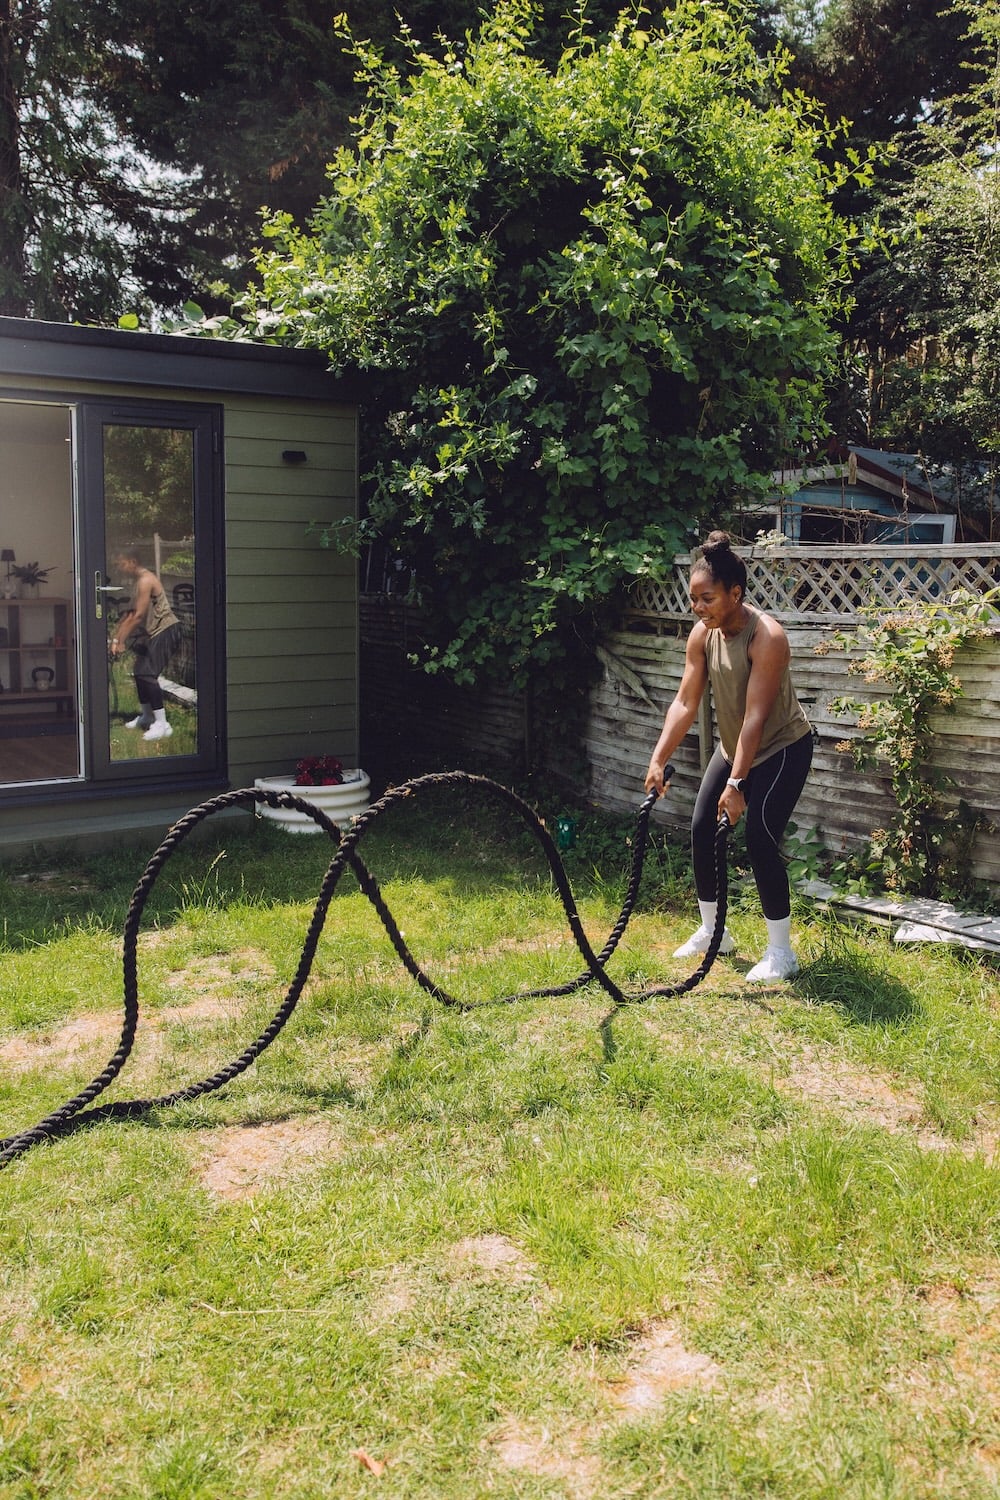
Double waves use a similar vertical movement, but this time both arms move together.
From your starting position, hold the end of each rope and move both arms up and down at the same time. Each movement should create two waves travelling towards your anchor point.
Because both arms are working together, you can focus on generating more force while maintaining your quarter squat and a strong torso position.
Make it harder: Create bigger, more powerful waves or increase the length of your work interval.
4. Lateral Waves
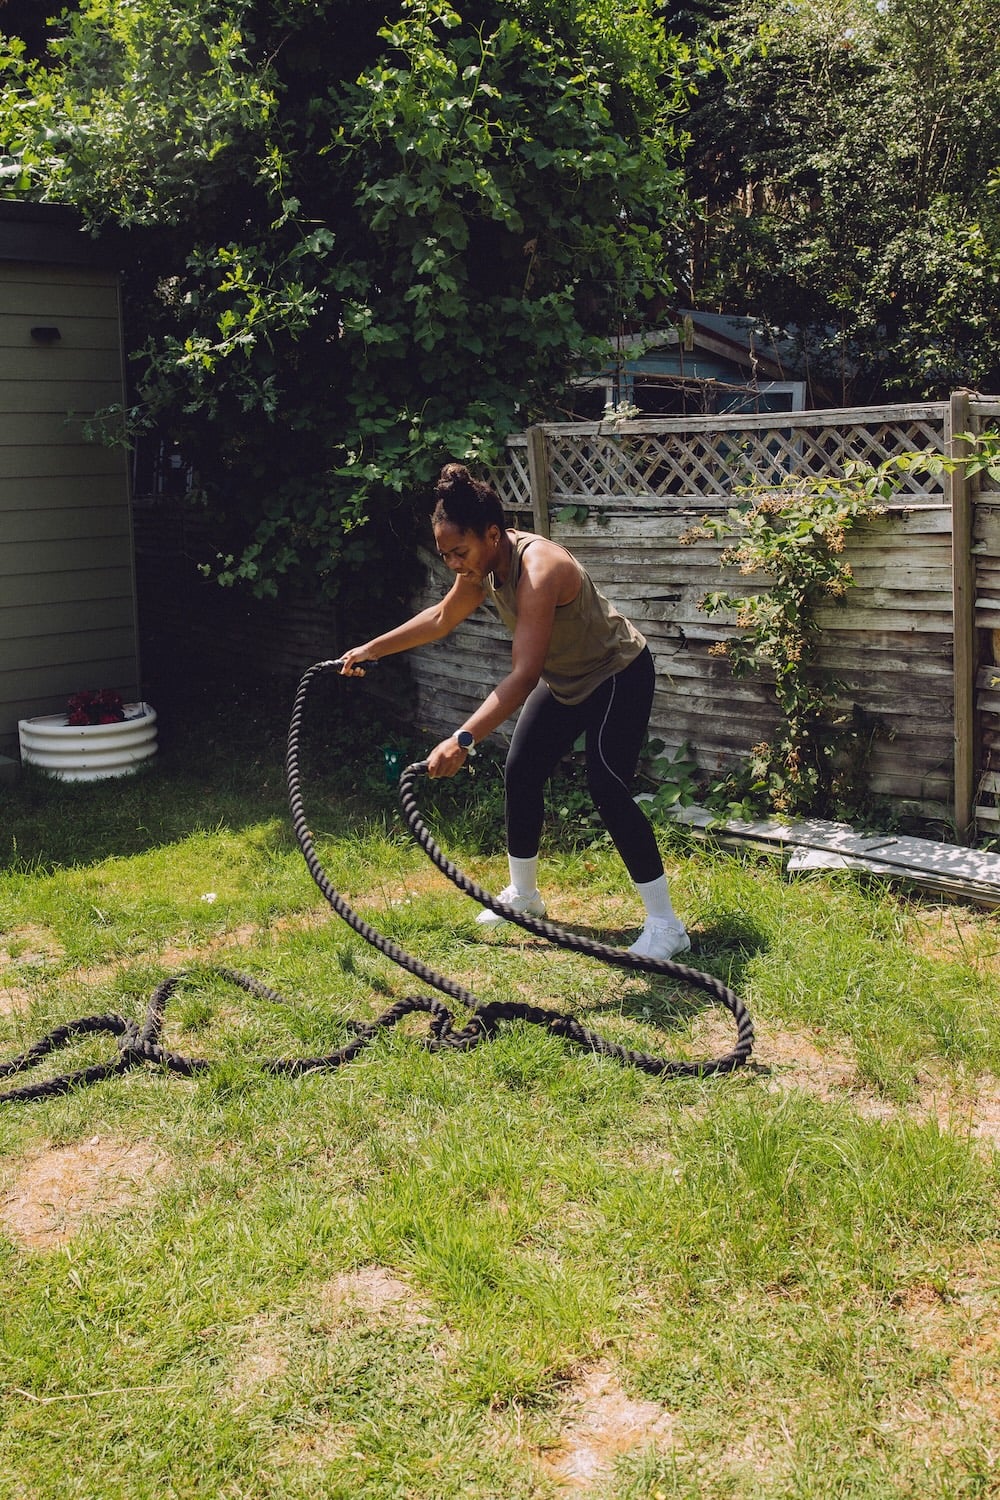
Now we’re changing direction. Instead of creating vertical waves, lateral waves move the ropes from side to side, introducing a different plane of motion.
Start in a stable squat or quarter squat position with an end of the rope in each hand. Keeping your hands relatively close together, move both ropes from side to side in a controlled, sweeping motion.
Your core has more work to do here to control the movement and keep your body stable as the ropes travel across the front of your body. Avoid simply twisting through your lower back; keep the movement controlled and let your core and upper body work together.
Make it harder: Increase the speed of the lateral movement or make the movement larger while staying in control.
5. Power Slams
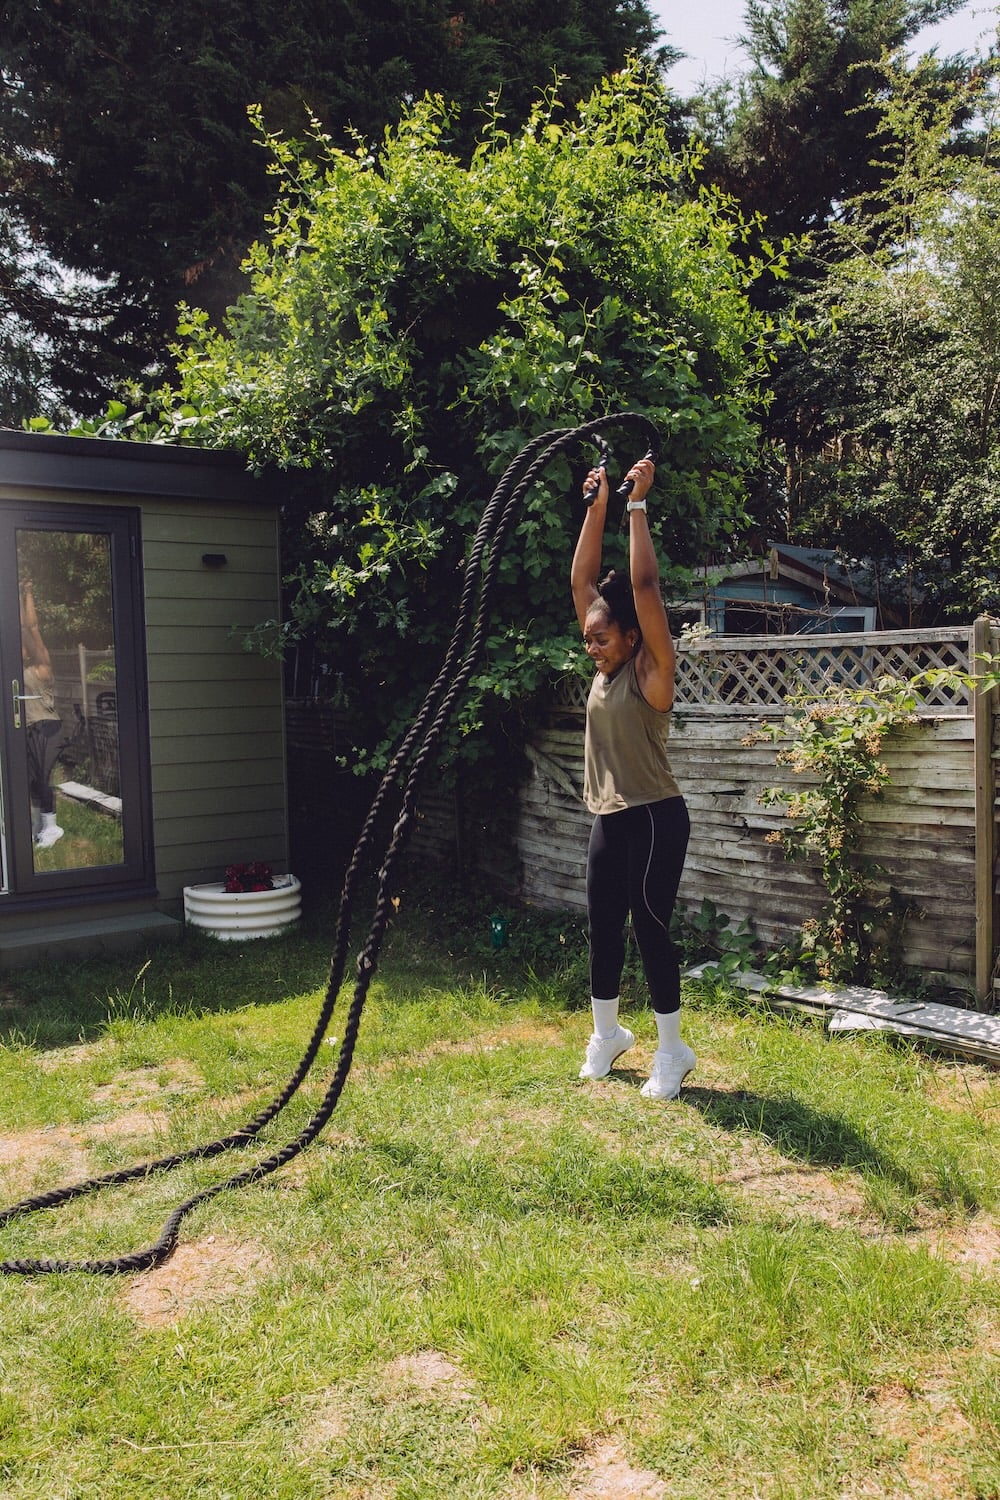
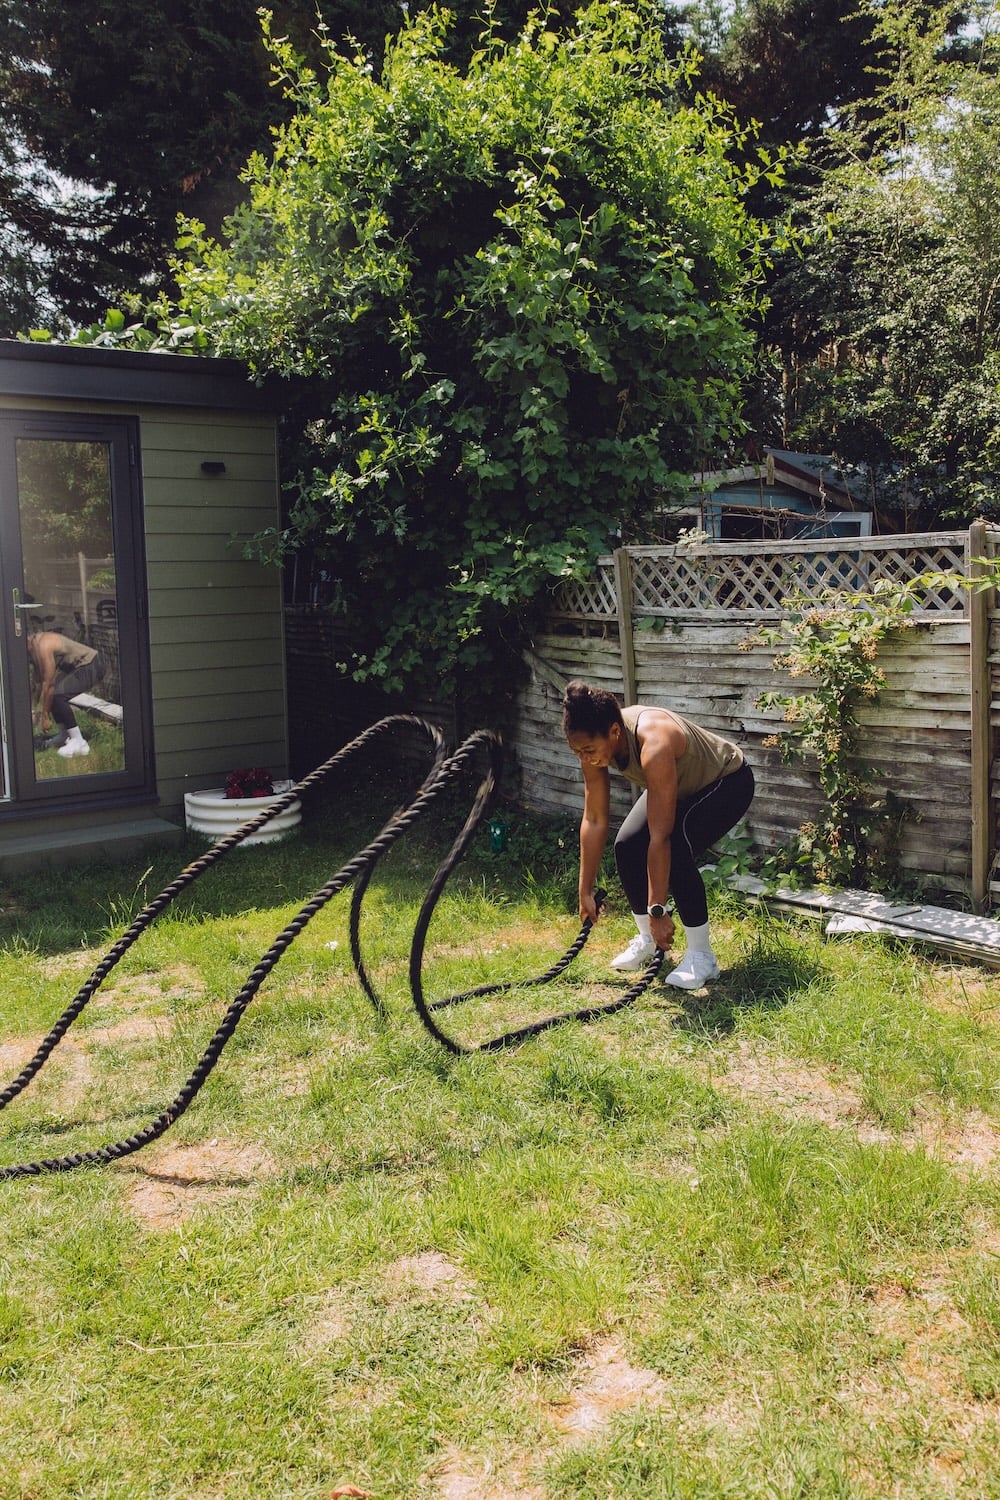
Time to make some noise.
Stand with your feet around shoulder-width apart, holding an end of the rope in each hand. Drive both arms upwards before forcefully bringing the ropes down towards the floor. Your knees and hips should bend as you slam, allowing your lower body, core and upper body to contribute to the movement.
Unlike the continuous battle rope waves above, power slams are about producing force with each repetition. Reset your position between reps as needed rather than rushing through them and losing your form.
Make it harder: Focus on producing as much force as you can with each slam, rather than simply trying to squeeze in more reps.
3 HIIT Battle Rope Workouts to Try
Now we can put those exercises into practice. I’ve created three HIIT battle rope workouts of different lengths, so you can choose based on how much time you have, your fitness level and what else you’re doing in your training that week.
Before jumping into any of the workouts below, take a few minutes to warm up and prepare your body for the movements ahead. Focus on getting your shoulders, upper body, core and lower body moving and gradually raising your heart rate. If you need some ideas, try my Simple Home Workout Warm Up Routine — it’s a quick full-body warm-up you can do before getting started.
Remember, HIIT is about the intensity of your work intervals — a longer workout isn’t automatically a better workout. Adjust your work and rest periods when you need to, particularly while you’re getting used to battle rope training.

10-Minute Battle Rope HIIT Workout
Short on time? This workout uses only the battle ropes and takes you through all five exercises.
Perform each exercise for 30 seconds of work followed by 30 seconds of recovery:
- Vertical waves – right hand
- Vertical waves – left hand
- Alternating waves
- Double waves
- Lateral waves
- Power slams
- Alternating waves
- Double waves
- Lateral waves
- Power slams
That’s 10 minutes done. Simple.
If 30 seconds feels too long when you’re starting out, try 20 seconds of work followed by 40 seconds of recovery. The aim is to maintain good-quality movement throughout your work interval rather than hanging on for dear life for the final ten seconds.
20-Minute Full-Body Battle Rope Workout
For this one, we’re alternating battle rope exercises with bodyweight movements to get different muscle groups involved.
Complete 40 seconds of work followed by 20 seconds of rest for each exercise:
- Alternating waves
- Bodyweight squats
- Double waves
- Reverse lunges
- Lateral waves
- Push-ups
- Power slams
- Mountain climbers
- Alternating waves
- Plank shoulder taps
Complete the circuit twice for a 20-minute full-body workout.
The non-rope exercises give your grip and upper body a break from continuously moving the ropes, but they’re not necessarily recovery. If you need more recovery time between rounds, take it.
30-Minute Battle Rope + Strength HIIT Workout
For the longest workout, we’re combining battle ropes, bodyweight exercises and free weights. I use a 12kg kettlebell, but choose a weight that works for your current strength and allows you to maintain proper form.
We’ll split the workout into three 10-minute blocks, using 40 seconds of work and 20 seconds of recovery throughout.
Block 1: Waves + Lower Body
- Alternating waves
- Goblet squats
- Double waves
- Reverse lunges
- Lateral waves
Repeat twice.
Block 2: Strength + Core
- Kettlebell deadlifts
- Vertical waves – right hand
- Vertical waves – left hand
- Push-ups
- Plank shoulder taps
Repeat twice.
Block 3: Power + Conditioning
- Power slams
- Kettlebell swings
- Alternating waves
- Squat to knee drive
- Double waves
Repeat twice.
This final workout gives you a mixture of movement patterns rather than spending 30 minutes doing battle rope waves. You’ll move between upper-body and lower-body exercises, core work, strength training and higher-intensity conditioning.
As always, the workout routine is there to be adapted. Increase your rest periods, shorten the seconds of work, use a lighter kettlebell or swap an exercise if that’s what allows you to move well. HIIT should be challenging, but challenging is relative to the person doing it.
How to Adjust a Battle Rope Workout for Your Fitness Level
One of the best things about battle rope workouts is how easy they are to scale. You don’t need to copy somebody else’s speed, work intervals or rope weight for the workout to be effective.
If you’re new to battle ropes, start with shorter work intervals and longer rest periods while you get comfortable with each movement pattern. You might begin with 15–20 seconds of work followed by 40–45 seconds of recovery, then gradually increase your working time.
You can also adjust the intensity by changing how quickly you move the ropes, the size of the waves you create or how much force you produce. More experienced exercisers might use longer work intervals, shorter recovery periods or more demanding exercises such as power slams.
Your starting point should reflect your current fitness level, not where you think you should be. If your technique starts disappearing halfway through an interval, take the recovery. There are no bonus points for fighting a battle rope with terrible form.
Common Battle Rope Mistakes to Avoid
Battle rope exercises are relatively simple to learn, but a few small changes can make your workouts feel much better.
Choosing a rope that’s too challenging. Heavy ropes and thicker ropes aren’t automatically more effective. If you can barely create a wave, you’re going to struggle to maintain proper form or get much out of the exercise.
Using only your arms. Your arms and shoulders are obviously doing plenty of work, but battle rope training should involve more than your upper body. Maintain a strong stance and allow your lower body and core musculature to support the movement.
Standing too upright. For many battle rope waves, a slight bend through the knees or quarter squat gives you a more stable base. You don’t need to hold a deep squat position throughout the workout, though — that’s just adding unnecessary suffering.
Gripping the ropes too tightly. Keep a secure hand grip without squeezing the ends of the rope as hard as possible. Otherwise, your grip strength can become the limiting factor long before the rest of your body is ready to stop.
Chasing speed at the expense of form. Faster isn’t always better. Whether you’re performing an alternating wave, double wave or power slam, focus on maintaining the intended movement pattern rather than turning every interval into chaos.
Ignoring your recovery time. Rest is part of high-intensity interval training. Your recovery periods should allow you to put meaningful effort into the next interval. If every round gets progressively messier, give yourself a little more recovery time.
How Often Should You Do Battle Rope HIIT?
How often you include battle rope training in your fitness routine will depend on your fitness goals, experience, recovery and what the rest of your week looks like.
Battle ropes can be used for a complete HIIT workout, incorporated into a circuit alongside strength exercises, or added as a short conditioning finisher. If you’re already doing other high-intensity workouts, strength training, running, cycling or similar activities, remember that those sessions all contribute to your overall training load too.
You also don’t need to do battle rope HIIT every day to benefit from it. Give your body time to recover between demanding sessions and pay attention to how your shoulders, arms, grip and the rest of your body feel.
Ultimately, battle ropes are another tool in your training toolbox. Use them where they add something useful — and enjoyable — to your workout rather than feeling like you need to squeeze them into every session.
Battle ropes might look intimidating, but you really don’t need to overcomplicate them. Start with the basic wave movements, get comfortable with your technique and progress the exercises or intervals as your fitness improves.
They’ve been part of my own workout kit since long before I had somewhere permanent to use them, and that’s one of the things I still like about them. With a rope, a secure anchor point and a little bit of space, you’ve got plenty of options for a quick HIIT session or a longer full-body workout.
Pick one of the workouts above, adjust it to suit you and give it a go. And remember: the goal isn’t to survive the hardest possible workout. It’s to find a way of training that challenges you, works for your body and, ideally, makes you want to do it again.
Elle
P.S Safety always comes first. If you are new to exercise ensure you seek advice from your GP. Make sure you drink plenty of fluids, wear appropriate clothing and carry out drills in a suitable space. Technique is paramount, and nothing should hurt. Should you experience pain, discomfort, nausea, dizziness, chest pain, shortness of breath etc, STOP and consult your GP.

![[Video] 30 minute No Equipment Core Workout](https://www.keepitsimpelle.com/wp-content/uploads/2020/04/YouTube-Covers.png)