A salon manicure has its own pleasure: the tidy station, the careful brushwork, the final flash of shine. But an at-home routine can be just as satisfying when the products are simple to use and designed to work together. That is exactly why a complete gel system has become a popular choice for people who want polished nails without planning their week around an appointment.
The idea is not to become a professional nail technician overnight. It is to create a reliable beauty ritual that gives you control over timing, color and finish. With the right tools, a little patience and thin layers, a glossy manicure can move from salon chair to bathroom counter.
What should a gel polish kit include?
A good gel polish kit usually brings together the essentials needed for a complete manicure: a base coat, color, top coat, LED lamp and removal accessories. This matters because compatibility makes the routine easier. When the lamp, polish and finishing products are designed for the same system, there is less guesswork and fewer tiny beauty gremlins hiding in the process.
Beginners should look for clear instructions and a straightforward application method. More advanced users may prefer extra shade options, nail prep tools or longer-wear formulas. In both cases, the best kit is the one that fits your lifestyle, not the one that looks impressive but stays unopened in a drawer.
How to use it step by step
Start with clean, dry nails. Remove any old polish, file the nails into shape and gently push back the cuticles. The nail surface should be neat and free from oil, cream or dust, because good preparation helps the polish adhere more evenly.
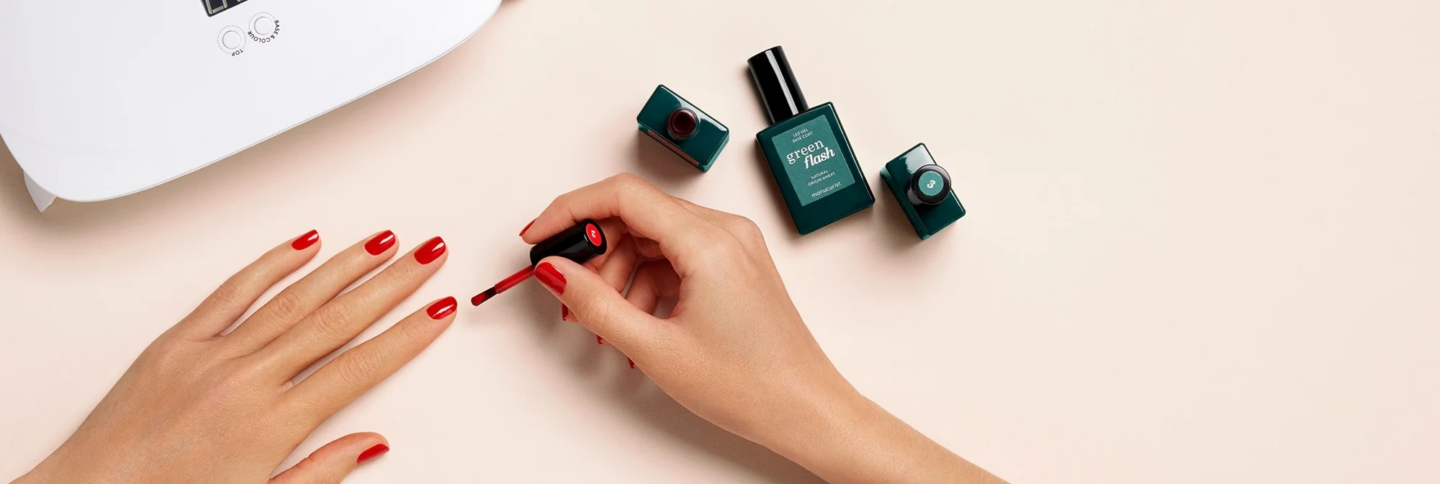
Apply a thin layer of base coat, keeping it away from the skin, then cure it under the LED lamp according to the instructions. Next, apply the color in fine, even coats. Two thin coats usually look smoother than one thick coat, which can wrinkle, bubble or cure unevenly.
Finish with a top coat to seal the color and create shine. Before curing, cap the free edge by brushing a small amount of product along the tip of each nail. This small detail helps protect the manicure from everyday chips caused by typing, washing, cooking or opening yet another parcel with your bare hands.
Common mistakes to avoid
The most common mistake is applying too much product. Thick layers may look faster, but they often lead to a less durable result. Another issue is touching the skin or cuticle area with polish before curing. If this happens, clean it up immediately with a small brush or cotton bud.
Do not rush curing times either. Each system has its own recommended timing, and following it helps the manicure set correctly. Finally, resist the temptation to peel the polish when you are ready for a new color. Peeling can lift delicate layers of the natural nail and leave the surface weaker.
Why removal matters
A good manicure is not only about application. Removal is part of the health of the routine. Use the method recommended by your kit, take your time and avoid scraping aggressively. After removal, apply cuticle oil and hand cream to restore comfort and keep the nail area looking fresh.
This aftercare step is small but powerful. Hydrated cuticles make any manicure look cleaner, even before color is applied again. It also helps turn the whole process into a calmer ritual: apply, cure, admire, nourish, repeat when the next shade starts calling from the shelf.
Frequently Asked Questions
Yes, especially if it includes clear instructions and products created to work together. Beginners should focus on nail prep, thin coats and careful curing.
Wear time depends on the formula, application and daily habits. With good preparation and proper curing, gel manicures are chosen for their shine and longer-lasting finish compared with regular polish.
Most gel polish systems need an LED or UV lamp to cure properly. Always use the lamp recommended for the formula, since curing time and performance can vary between products.