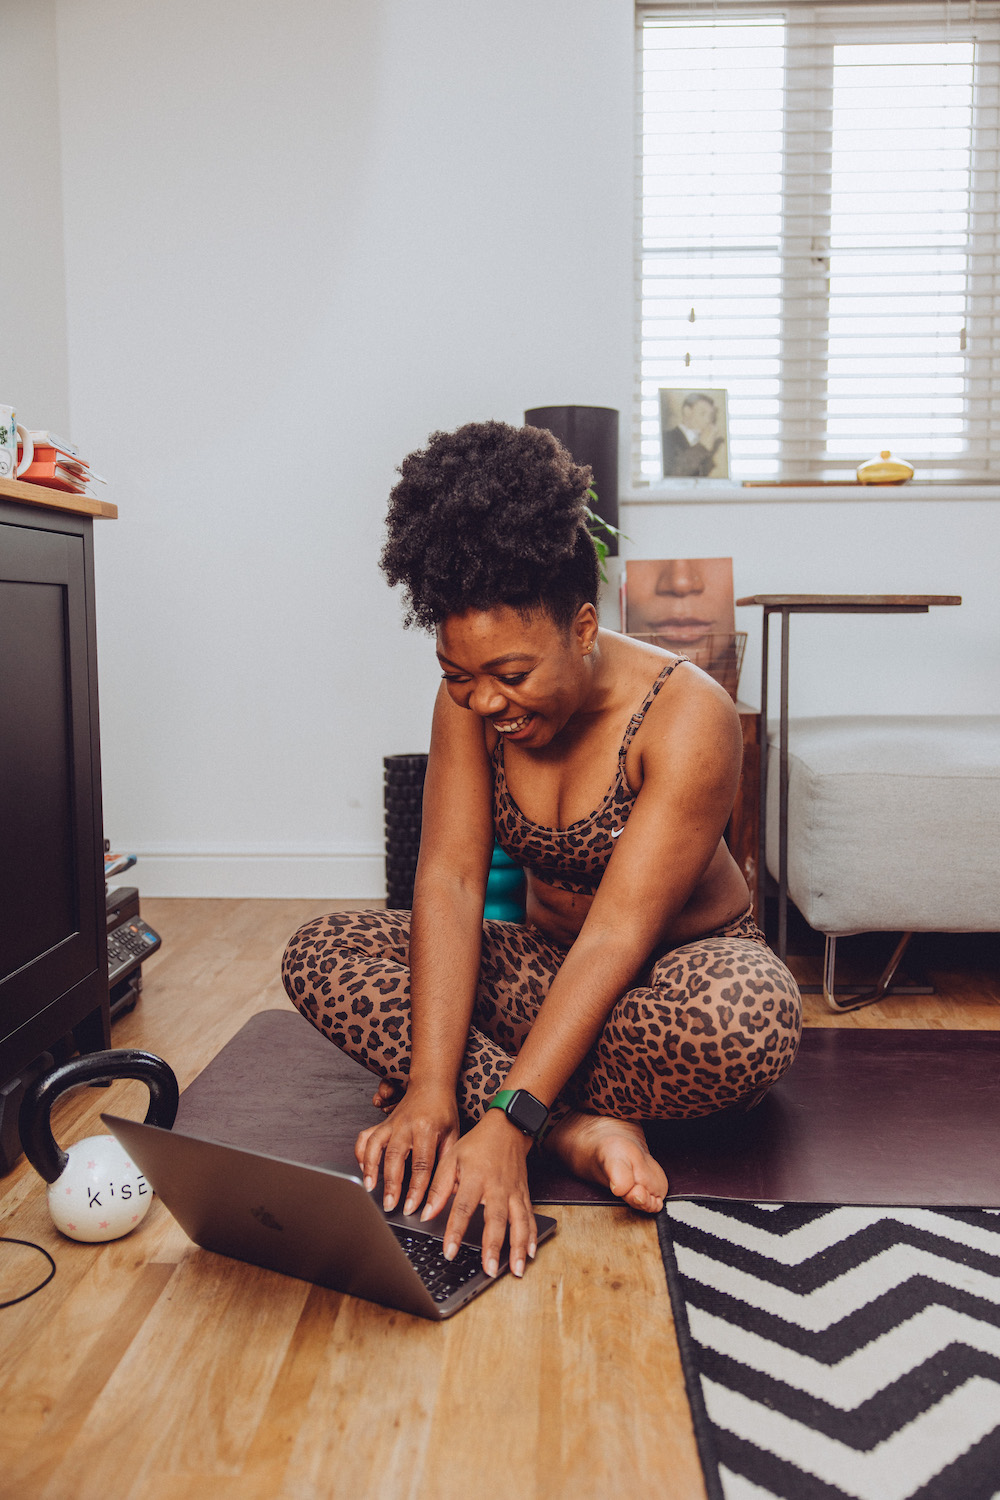
Creating video content is a key part of shifting your fitness services to the online space. Video is the next best experience if you can’t connect in-person, and you want to make it fun, effective, and easy to follow for your clients.
Here are my tips to help you plan, film and edit your next fitness video:
Create A Brief Outline
While it’s totally possible to do great videos on the fly, taking a little time to plan beforehand can save you a lot of time. I recommend making a quick outline of the exercises or key points you want to share before you hit record.
An outline is useful because:
- It helps you feel more prepared and confident while recording. As you’ve thought about it beforehand, you’ll already be familiar with the points you want to make by the time you’re on camera.
- You can use the outline as a shot list to keep track of which “scenes” you’ve already recorded.
- The outline serves as a guide while you edit, making the post-production phase more efficient.
The outline you create isn’t set in stone, you can definitely still be spontaneous while filming if something comes to you last minute.
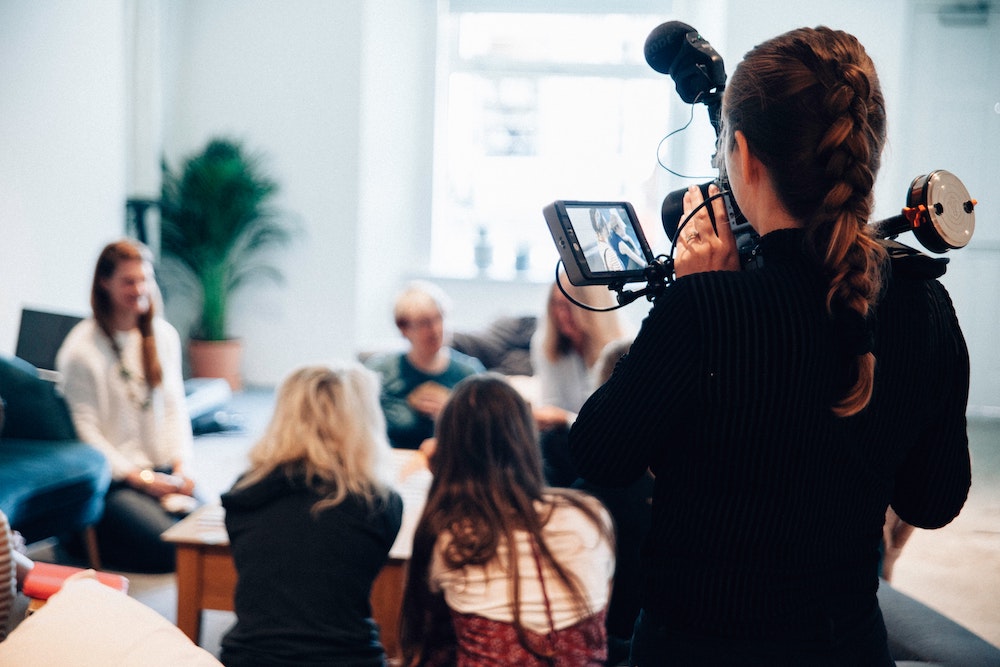
Aim For Good Lighting
Lighting is key when recording your video. Personally, I love the look of natural light, but artificial lighting works well. If you go with artificial lights, look for lightbulbs with a whiter hue (and not yellow) as that mimics the natural look.
When deciding where to place your camera, avoid angles with harsh shadows. If viewers can’t see what you’re doing, they’re likely to stop watching.
Doing a workout video? Make sure the camera is far enough to capture your full body and all your movements. Place your camera so that you’re positioned more or less in the centre of the frame.
Getting Good Sound
What viewers see is just one element of video content, what they can hear is just as important. While most people are forgiving with lower quality visuals, low-quality audio isn’t as tolerated. Do what you can to record clear audio so that your viewer doesn’t have to strain to hear what you’re saying.
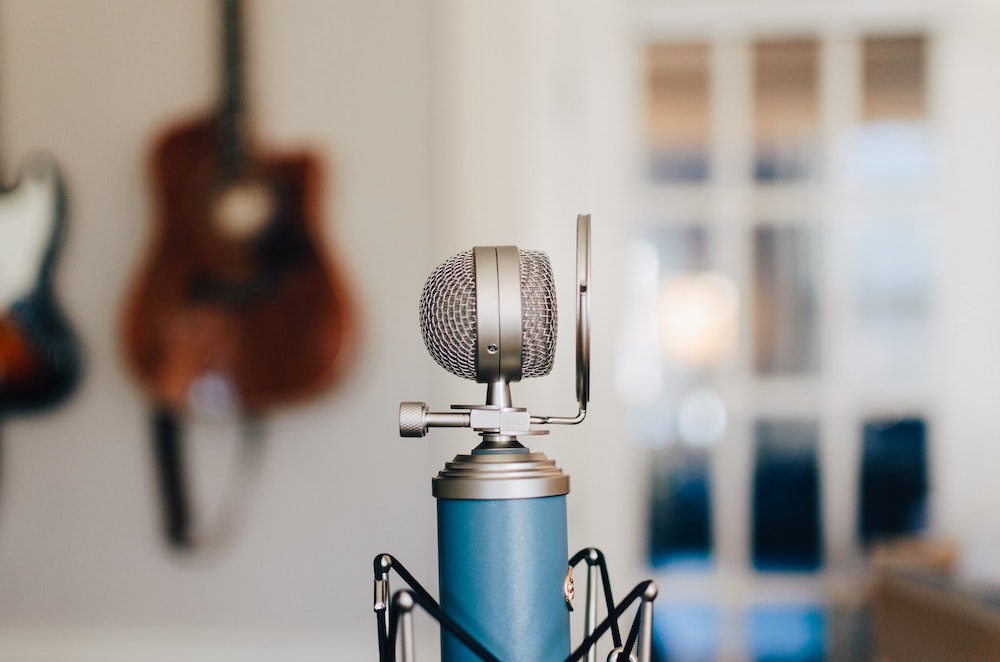
While you’re recording, you want to speak clearly and loud enough so your mic can pick up what you’re saying. You can minimize background noise and echos by putting down rugs or towels on hardwood floors, and if possible, have pets, children or partners in another room.
Now you’re ready to record!
Look At Your Viewer, Not Your Screen
It’s important that your viewers feel like you’re talking to them when your face is on camera. To create this effect, place your camera at eye-level and make sure you’re looking at the camera lens while recording.
Making eye contact (even through a screen) can help your audience feel like you’re talking directly to them, creating a stronger sense of connection.
Don’t Be Afraid to Mess Up
One of the advantages of using pre-recorded video content is that you can always edit out the bloopers. You don’t have to worry about recording a perfect shot from start to finish.
You’ve got your footage, time to edit!
Use The Outline As A Guide
Remember that guide you wrote while planning? Use it as a guide while you edit so you don’t miss any shots you wanted to include.
Start Where You Are
If you’re new to editing, don’t compare your edits to professionally edited videos. Editing is an art form and the software used to create it is often complicated when you’re just starting out. Don’t get discouraged if the video isn’t exactly what you had in mind.
Keep practicing and you will get there.
Estrella

Estrella is the founder of La Chispa studio, a video editing studio that serves online entrepreneurs. Estrella helps her clients publish beautifully branded video content through her done-for-you packages. Working with her frees up time and energy so you can focus on nurturing your audience, scaling your business, and growing your income.


Thanks for having me on your blog Elle!
Love this! this is something I have struggled with as a fitness youtuber. the thing I struggle with most is setting up systems so that I’m not always filming and editing videos in a rush?
I would suggest batching your tasks for each stage to maximize efficiency. For example, if you want to publish 4 videos a month, you can dedicate one week a month to creating those videos.
Day 1 – plan 4 videos
Day 2 – film 4 videos
Day 3 – edit 4 videos
Day 4 – Filling in titles, tags, descriptions, etc. and scheduling the 4 videos
Then you don’t have to do anything YouTube related for 3 weeks.
I would also suggest using a project management tool (like Asana) to keep track of progress.
These are great tips, thank you Estrella!