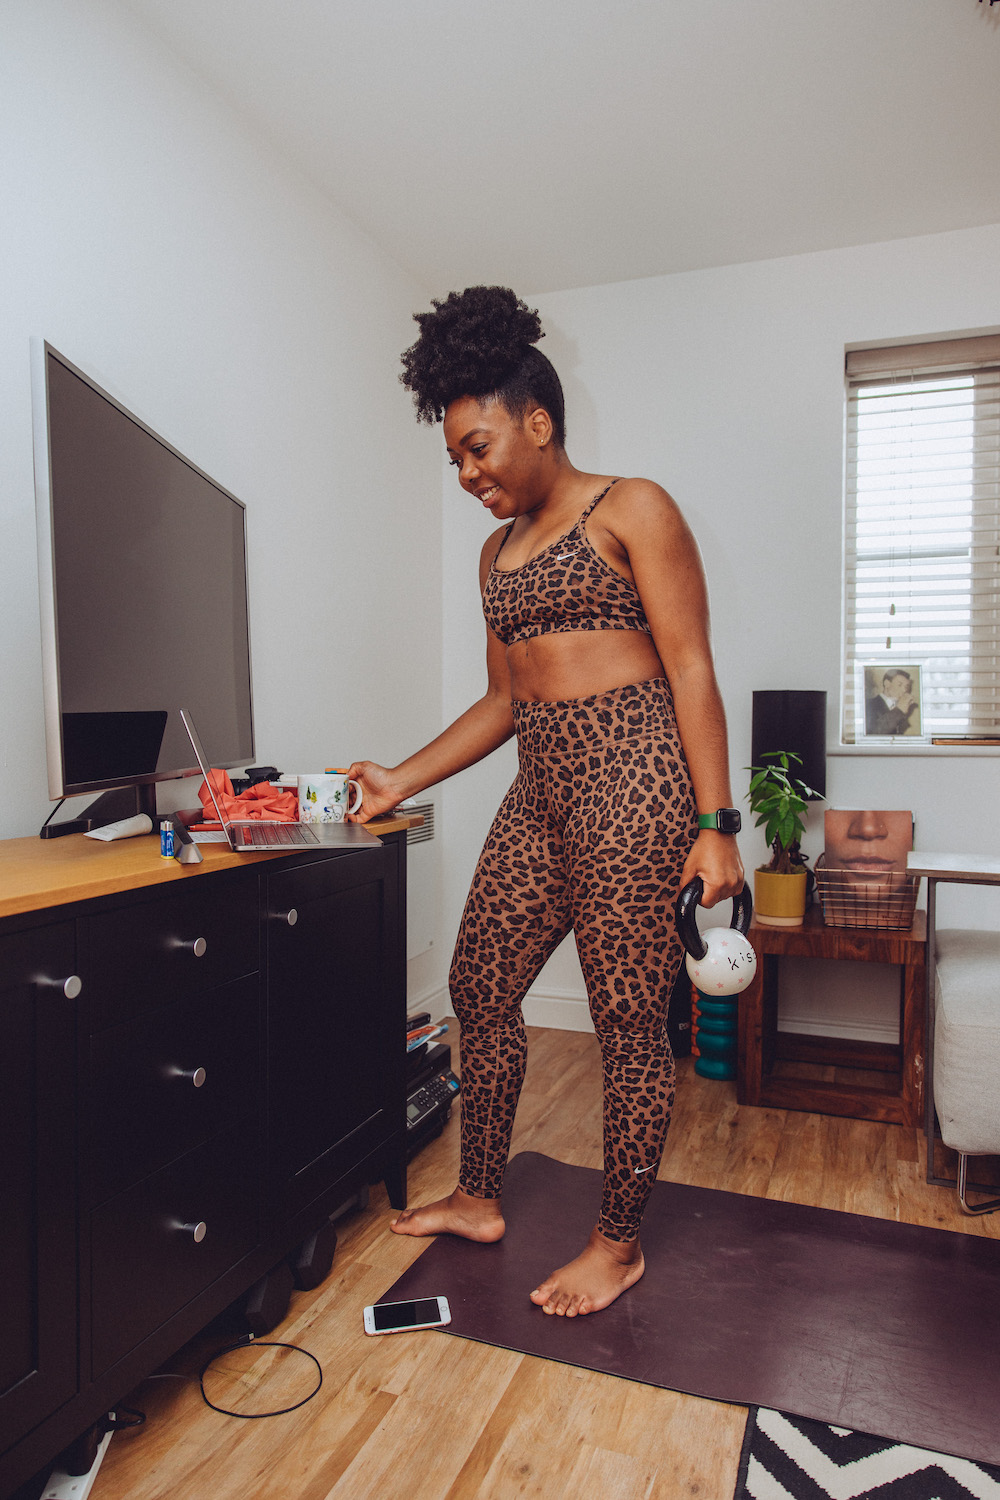
It’s been well over 2 years now since the request to #StayHome was made of us here in the U.K. I had no issues whatsoever adhering to it, as I love being at home. After a short while though, not being able to teach my weekly studio classes meant I needed another option. So I decided I would teach online, from my living room (I use it all the time for shooting content).
A big group of us Fitness Instructors got together online in the Zoom & Online Fitness Instructors UK Facebook group, which is where I picked up all the inspiration needed to get set-up for teaching online classes using Zoom. It’s definitely been an evolution, but this post now features my most current set up.
If you need to cover all the basics about Zoom and ideas for equipment then head over to my first post here. This post is just to document what has been working for me, partly to share, and partly so I have a record!
My Equipment List
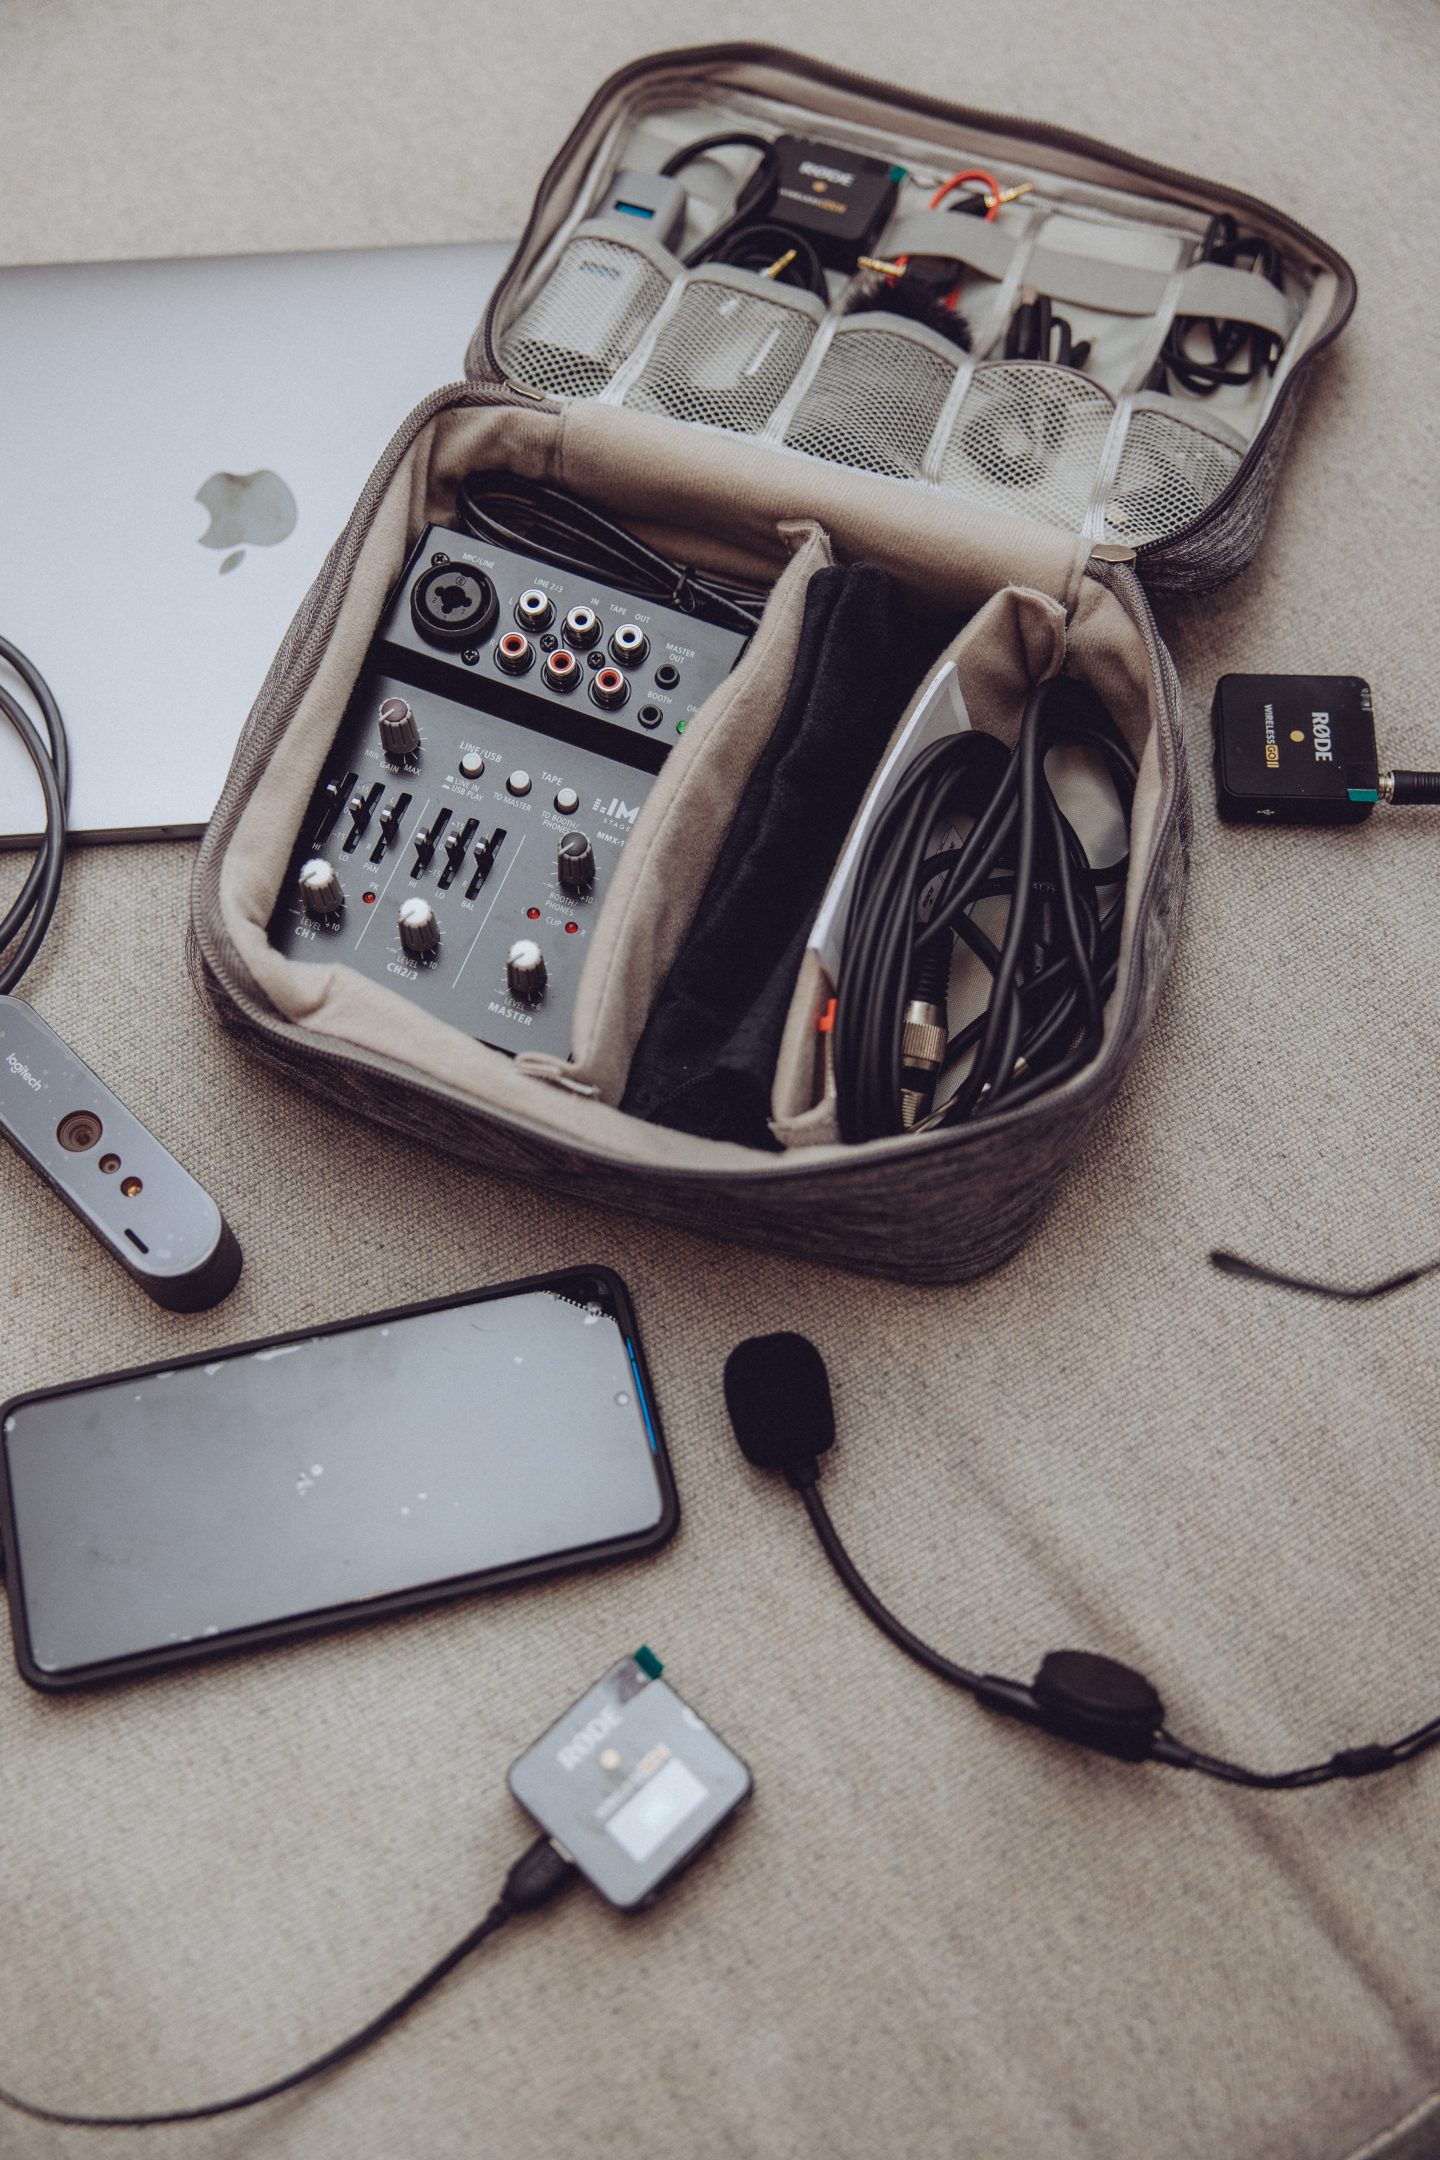
Once I nailed my online fitness set-up, I actually bought a second set of my equipment so I could travel or teach from other locations without having to move my home set-up. It’s meant I can teach from hotels, or record classes in studios for extra content.
I use the Rode Wirelesss GO for my travel set-up and have a slightly different system for at home.


- Zoom Pro subscription
- MacBook Air laptop (2020)
- Phone for music
- Logitech Brio webcam
- Ethernet cable adaptor
- Wireless microphone system and headmic
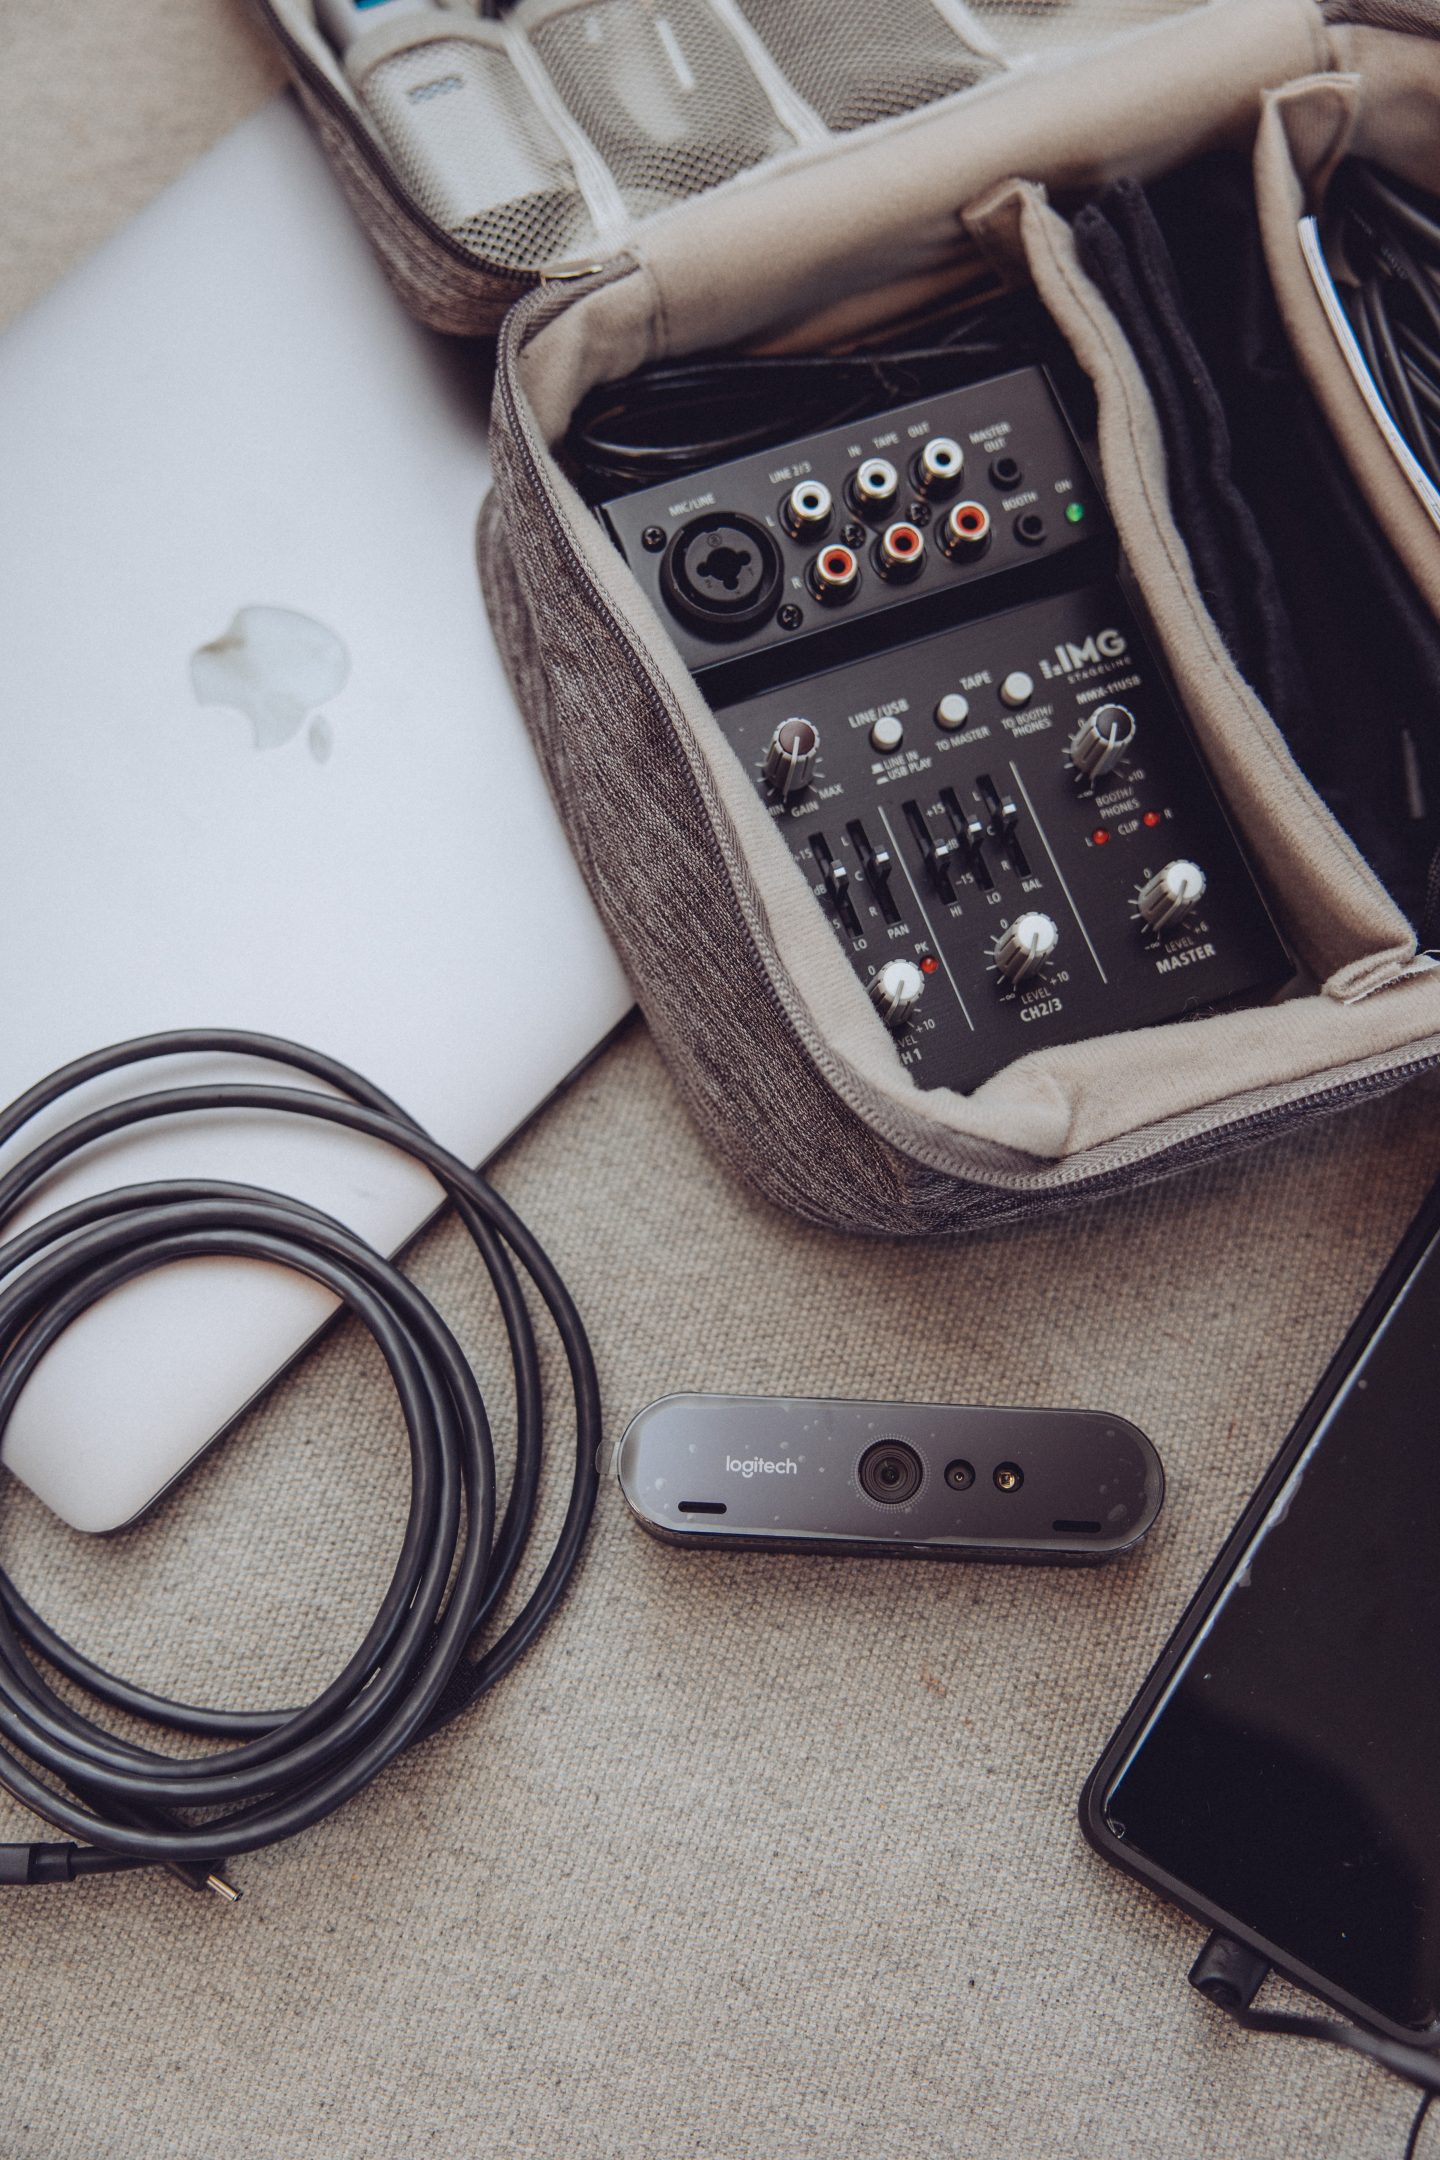
- USB mixer
- Softbox studio lights
- Gymboss Interval Timer

How I Set-Up For Classes
Previously, I used one laptop to host my “meeting” which was connected to my TV via the HDMI cable. I would then put Zoom on gallery view, so I was able to see all participants during class. I used the second laptop for picture and sound and would pin my image on this laptop so I can see what participants see at all times.

Now I just use one laptop and cast the screen (gallery view) to the TV which saves me setting up another laptop and negates the need for the HDMI cable. Because I use the TV to view participants, I never have to awkwardly approach the camera unless it’s at the start or end of class.
I have the two softbox lights positioned behind the camera facing me. One is usually lower and level with me, whilst the other is higher making sure the whole picture is bright.
These were a gamechanger; without them I couldn’t run evening classes unless I would buy some massively brighter lightbulbs (and daylight ones) for my living space.

Using a USB Mixer & Microphone System
Previously, I used the Zoom H1n/UK Handy Recorder as a microphone until I raised the funds to buy a microphone system and headset mic. I’ll go into detail on my previous set up below.
I ‘ummed’ and ‘aahhed’ about getting a mixer for months then decided that music was a real game-changer for me. Playing music through a speaker worked for a time, but I wanted to improve my offering as best I could and have better sound quality for recordings.
Zoom H1n/UK Handy Recorder
The recorder that I initially used as a microphone was actually purchased in 2019 to conduct interviews for my dissertation. I did some googling to discover it could be used as a microphone for other devices, laptops and cameras included. The cable that attaches it to my laptop is actually one for an old Polar device I used to own.

How To Use Zoom H1n as a Microphone
Connect the micro USB to the Zoom H1n and the USB to your laptop (I use this cable). Switch on the Zoom Hn1, choose Audio I\F, then PC/Mac, then Bus Power.
I always test the mic and speakers of laptop in Zoom before class starts. Ironically, for my first class, I forgot to sort the mic out and started the meeting. When I plugged in the mic (to my 2019 laptop) I lost all sound! That’s how I ended up using two devices in the first place, but it’s worked out to be a useful method. If it aint broke, I aint gonna change it!
The quality and clarity of recording on this device was always insane, so I knew I would have no issues if using it as a microphone. One class, I had my google home mini playing very quietly in the back when I noticed one of my attendees dancing. When I asked, she told me she was dancing along to my music!
I have the microphone on a mini tripod like this one. It helps to keep the mic in position. I will probably buy some muffs* for when I use the recorder outside again as it will pick up the wind for sure!
Do You Need A Webcam For Your Online Classes?
Up until Spring 2021, I made do with the built in camera on my 2013 MacBook. When I upgraded my laptop, the built in camera was actually worse so it was time to invest in a webcam.
I wanted to launch a new on-demand membership at the time, so better quality imagery was pivotal to that, so upgraded my set-up to include the Logitech Brio webcam. I “control” my webcam via OBS which means I can add stuff to the screen and also record the session.
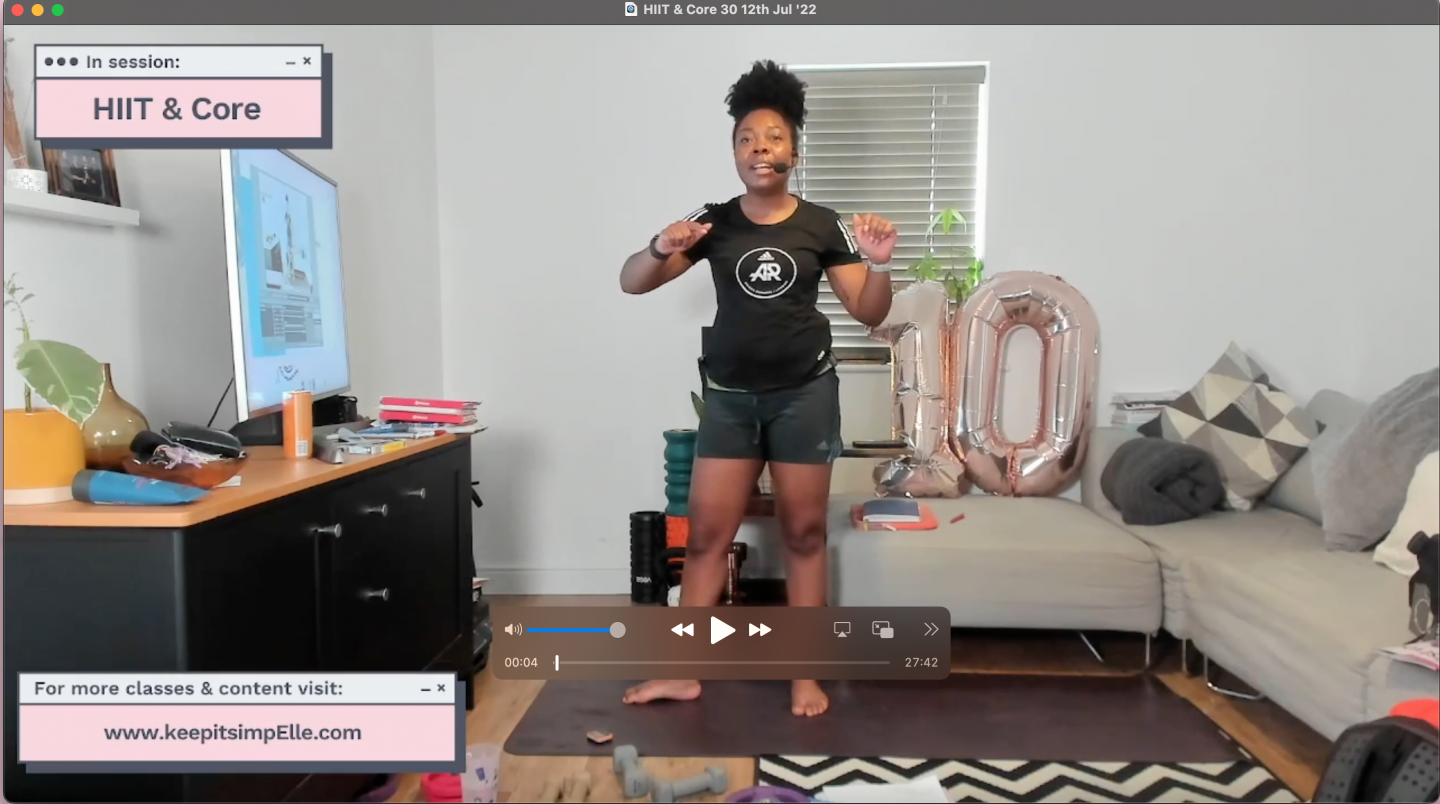
When you record via OBS, you record the sound direct from the mixer so keeps your client conversations private, and the image is what clients see (not a Zoom gallery view).
You can read a full review of the Logitech Brio here on the blog – video included – or find some other recommended webcam options.
Creating Content From Teaching on Zoom
Don’t forget that as well ass delivering classes, we also need to market our classes and one of the quickest and easiest ways to do that is to use your actual classes.
Repurpose videos on other channels – you can add class recordings to Youtube, providing free access to market your classes. You can also use a second device like a mobile phone to go live on Instagram, Facebook or YouTube at the same time.
I upload class recordings to Vimeo, where I edit them quickly (cut off what I need to at the beginning and end), add a cover image (made in Canva) when needed and then I can edit privacy / access. Recording through OBS saves the (perfectly sized) files in a folder for easy access.
If you’re thinking of creating an on-demand library you can use class recordings to build your library in addition to recording exclusive workouts.
Take screenshots – I use the function on my laptop to take screenshots of participants as a kinda group “selfie”. I use them to accompany posts marketing my sessions and sharing feedback. They’re also great for adding to my Ko-fi page which I’m using to document my journey right now.
Use other devices – I’ve used my phone to record time lapses and take photos of the gallery view screen and I’ve used a GoPro to take a video (with still images) too. Again, these can be used on various social media channels for marketing and updates.
Asking participants to share and tag you – so you can repost their content and share with others. User generated content is always handy to have when you don’t have anything to share yourself.
Classes I Teach on Zoom
If you wanna join me for class, I have a weekly schedule which you can check out on the Train With Elle page.
I currently teach 3 classes peer week – HIIT & Core, abs & core and strength. I also have a huge on demand library with a mix of Rollin’ with my Foamies (foam rolling) classes, abs & core, lower body, kettlebells and MetCon. Basically, something for everyone.
I was never sure I would continue with online classes after lockdown, but I’m glad I have. I’ve built a community I’m proud of and am enjoying learning the ropes and evolving as things continue to change.
Bookings and Payments For Zoom Classes
For my first sessions, I used my email software (Mailerlite) to deal with bookings. These sessions were free so I didn’t need to worry about payments – I just took donations through my Ko-fi page which go directly into my PayPal or Stripe account.
This became really confusing, really quickly so I asked around and decided to try out Gymcatch. They offer a free 3 month trial, and if you sign up through a referral link (here is mine) you get another month free.
I used Gymcatch for almost two years but recently made the decision to switch to Ko-fi again, as they launched memberships last year which means one less external site to use. I created one studio link for all classes so access is simplified.
Personally, I’ve really enjoyed delivering online classes and teaching on Zoom. It gives me the same buzz as teaching my studio classes, without the need to leave the house. I also prefer being able to see everyone rather than just teaching to what feels like “no-one” on Facebook or Instagram Lives.
Are you thinking about offering fitness classes online using Zoom? Or have you already jumped in?!
Elle
Found this post useful?
That’s great news! You can support me by leaving a comment, sharing with your colleagues, giving me a shout out or buying a me coffee…

This post was so interesting and helpful. Thankyou ?
This is so interesting. I work (worked) for a private club and they’ve talked about bringing me back to each some Zoom classes but I haven’t done anything on my own. I also need to get set up to train clients, just in case this goes on much longer. Thanks for the info!
I’d jump at the chance to teach at the private club! It means you don’t even need to worry about marketing and will have an audience provided. There are pros and cons to both options… teaching for a club or going it alone. But whichever you choose, just make the most of it and enjoy!
Hi
Thanks so much for your information. I want to start teaching Zumba online. My TV can’t be moved so I would need just the laptop. Macbook Air is very small isn’t it? Do you think I could do the classes just with the Macbook Air?
Thanks, Jean
Hey Jean, I know we’ve connected on email now and you’re almost rearing to go! Can’t wait to see you get your Zumba on, online!